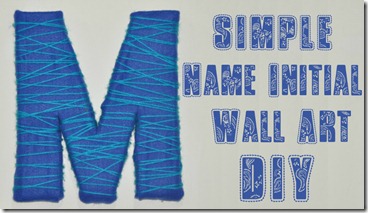
For a long time I wanted to make my kids name initials wall art… M & A to hang on wall
But I couldn’t find wooden alphabets as there is no craft or hobby shop where I live. So I planned to make it with cardboard….
this is what I did…

I typed M & A in word with 900 size.
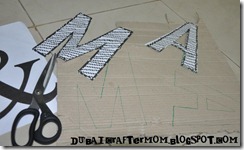
Cut 2 pieces of each alphabets.

1. I drew and cut alphabets on cardboard, 2 pieces each.
2. Pasted thick double sided tape on 1 piece.
3. Attached other Alphabet piece on top.
4. Taped well to make shape.
1st Disappointment
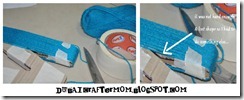
I wanted to cover it with wool but it was not strong enough and lost shape so I had to think of something else.
2nd Disappointment

So I covered it with blue color felt with the help of glue gun. I was still not happy with the result as It had a lot of imperfections….

by that time it was already 4:45am so I slept with a heavy heart, I had spend so much time on this and the result was not what I was expecting.
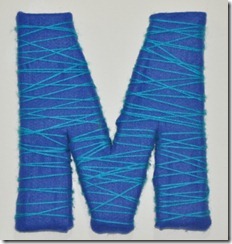
Next morning when I woke up, hubs suggested me to cover it with wool or add something else, as it was too simple. I wrapped it with wool and it worked perfectly… I will be making the other A very soon.
Things to keep in mind
1. If you want to make it with wool, take a strong material as a base….
2. covering your alphabets with fabric could be a great and much easier option.
I am planning to make my next Alphabet A with card board but in another way… will be back soon.
have fun
Irum.
But I couldn’t find wooden alphabets as there is no craft or hobby shop where I live. So I planned to make it with cardboard….

this is what I did…

I typed M & A in word with 900 size.

Cut 2 pieces of each alphabets.

1. I drew and cut alphabets on cardboard, 2 pieces each.
2. Pasted thick double sided tape on 1 piece.
3. Attached other Alphabet piece on top.
4. Taped well to make shape.
1st Disappointment

I wanted to cover it with wool but it was not strong enough and lost shape so I had to think of something else.
2nd Disappointment

So I covered it with blue color felt with the help of glue gun. I was still not happy with the result as It had a lot of imperfections….

by that time it was already 4:45am so
I slept with a heavy heart, I had spend so much time on this and the result was not what I was expecting.
Next morning when I woke up, hubs suggested me to cover it with wool or add something else, as it was too simple. I wrapped it with wool and it worked perfectly… I will be making the other A very soon.
Things to keep in mind
1. If you want to make it with wool, take a strong material as a base….
2. covering your alphabets with fabric could be a great and much easier option.
I am planning to make my next Alphabet A with card board but in another way… will be back soon.
have fun
Irum.


